
3D SCANNING AND PRINTING
GOALS FOR THE WEEK
- Test the design rules for your 3D printer(s)
- Document your work and explain what are the limits of your printer(s) (in a group or individually)
- Design and 3D print an object (small, few cm3, limited by printer time) that could not be easily made subtractively
- 3D scan an object, try to prepare it for printing (and optionally print it)
GROUP
INDIVIDUAL
Link to the group assignment: TEST
3D PRINTING WITH PRUSA
DESIGN
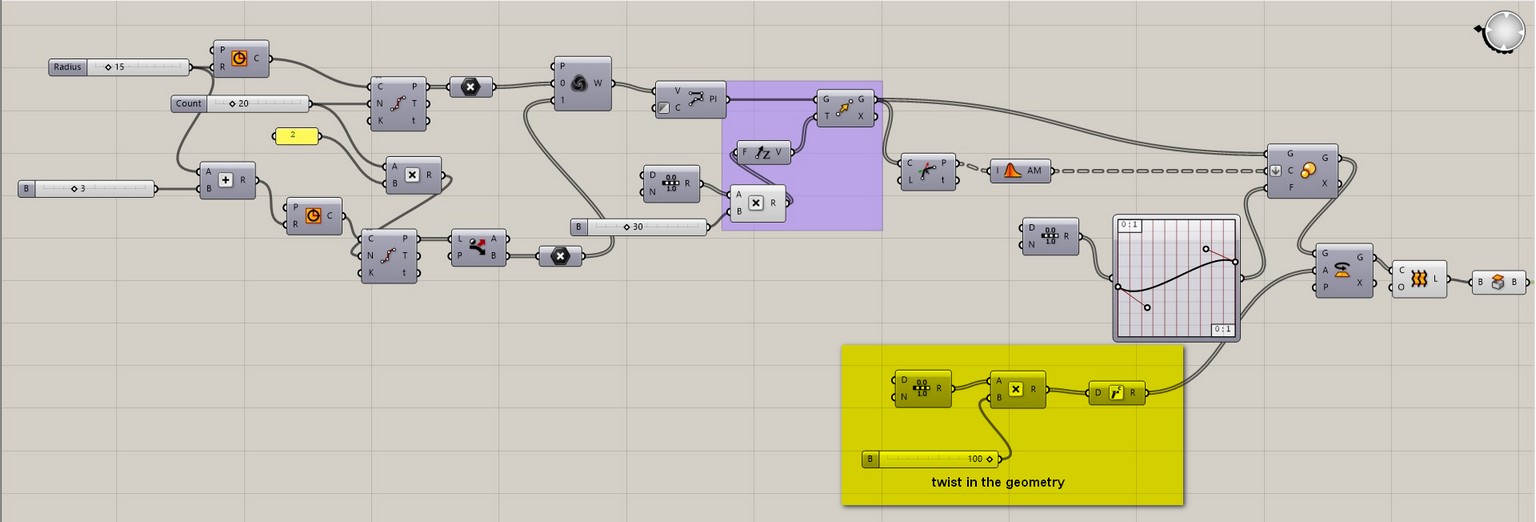
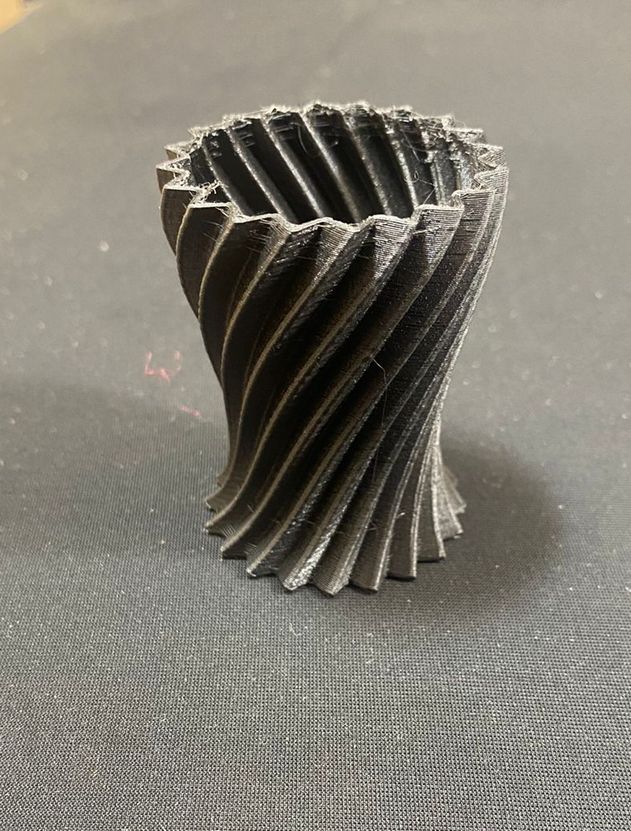
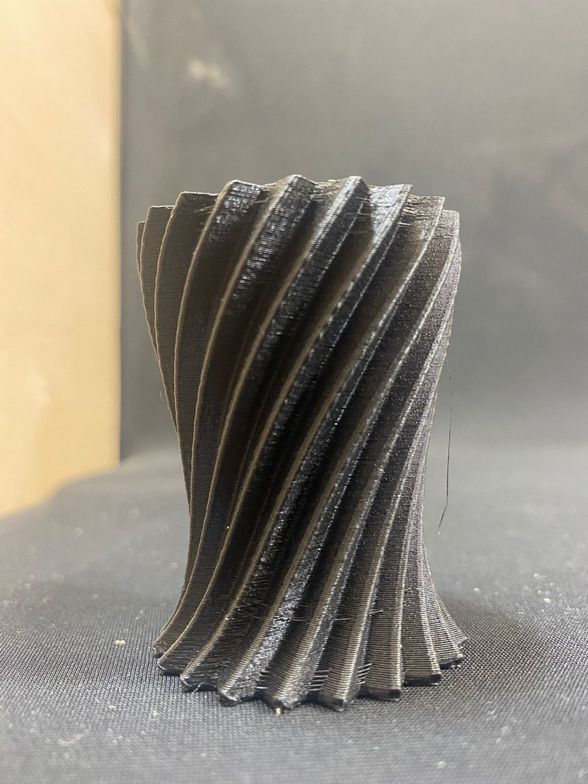
I wanted to make a twisted vase in grasshopper using a graph mapper to control the geometry.
- Create a base for the model: I made two concentric circles, extracted points and weaved them together to create a zigzag pattern.
- The proflies are multiplied and moved up in the Z axis.
- The profiles are scaled individually by extracting the center.
- Each of the profiles are rotated on its own axis.
- The highlighted slider controls the twist in the geometry.
SLICING
I decided on working with the PRUSA, for which I used a prusa slicer.
- First, import the model in .stl or .obj format.
- Change the orientation of the model, as it has an impact on the strength of the print.
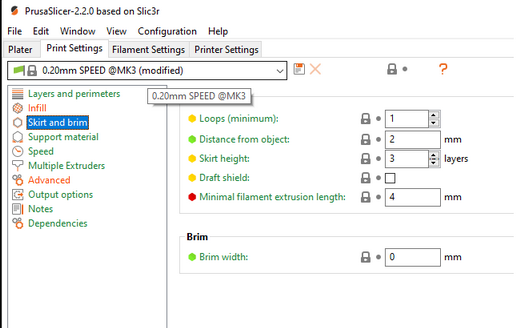
- Add supports if needed or use the default settings.
- Check if the temperature of the bed and the nozzle match with the requirement of the material.
- You can also choose to add a bed for the base of your model.
- Click on SLICE and copy it on to the SD card from the printer you are going to be using.
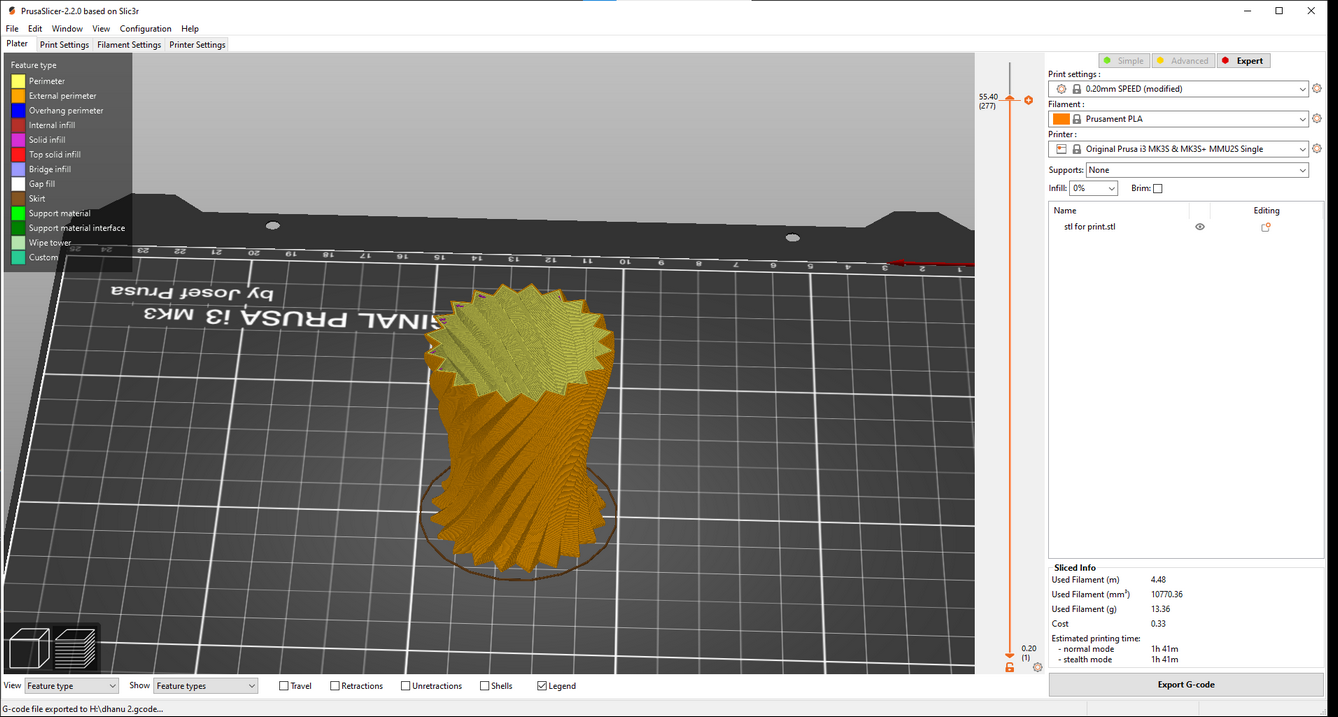
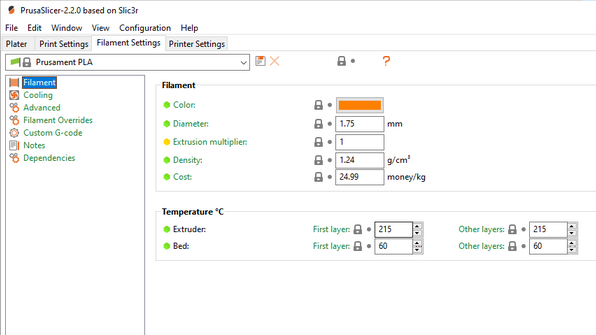
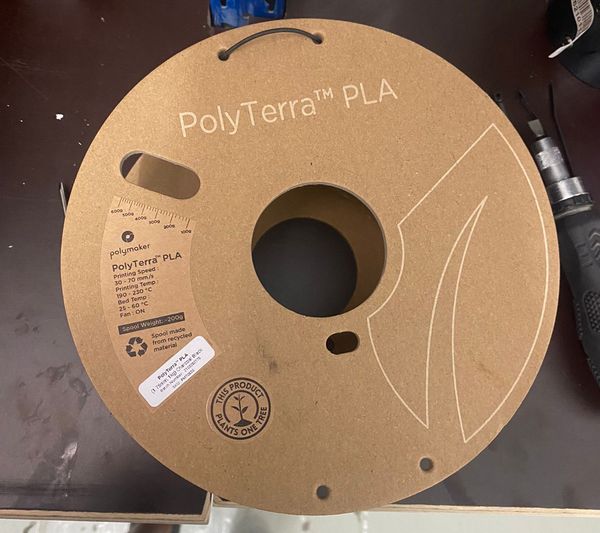
- I used PLA as the material.
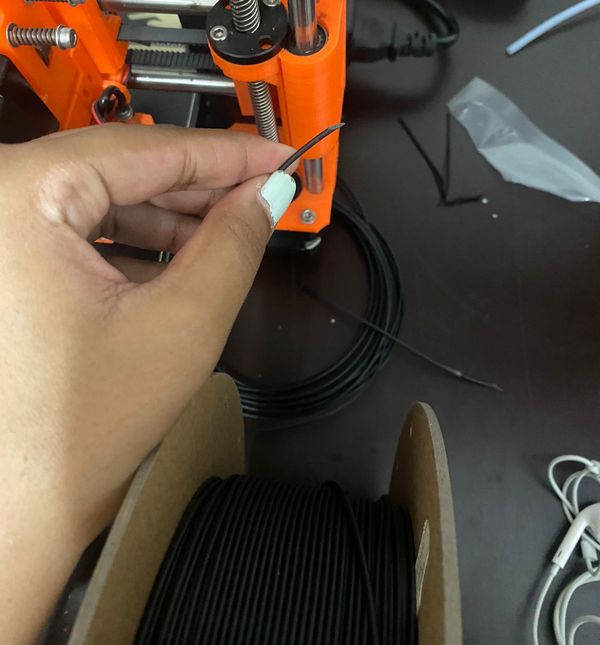
- To add a new filament, cut the end in a 45degree angle which makes it easier to insert.
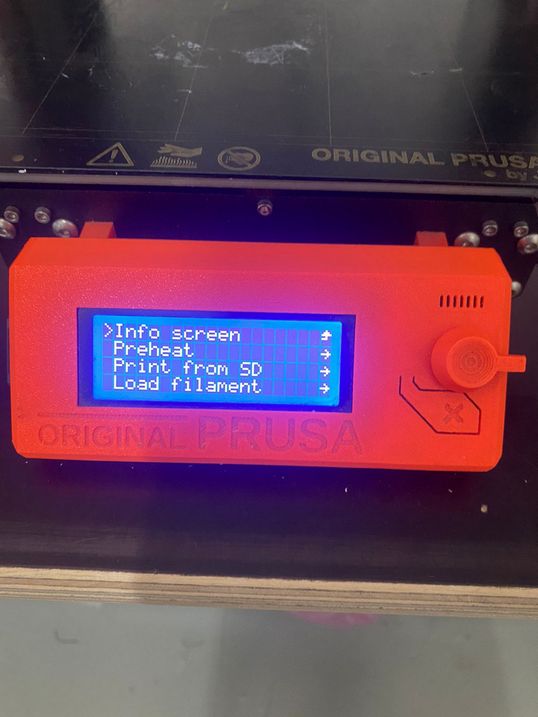
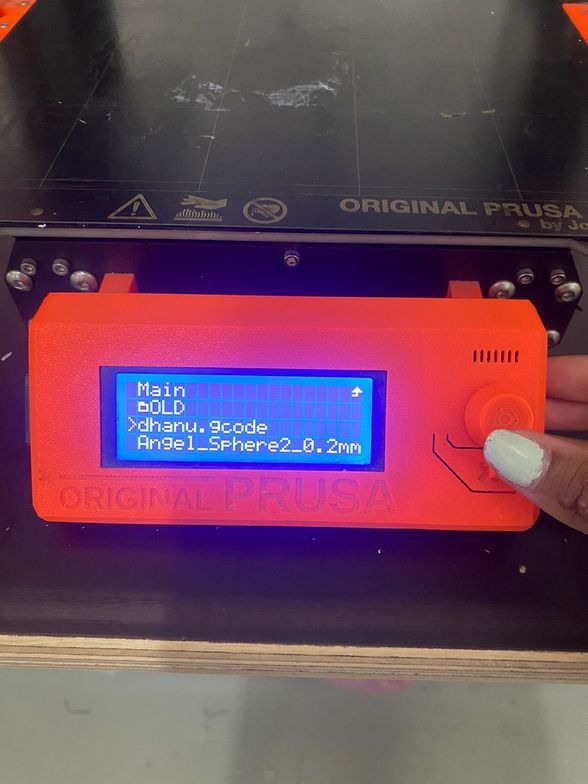
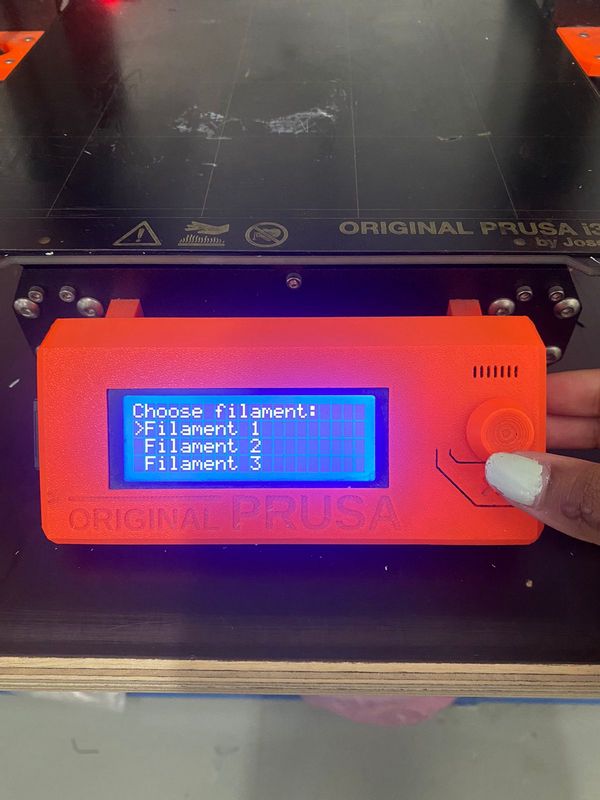
- On the printer, choose Print from SD on the menu, after which it will ask you to choose the filament.
- The printer then loads the filament to the nozzle and runs a test after calibrating the bed.
- Using glue or hairspray on the bed can make sure the print is stuck to the bed.
THE RESULT
3D SCANNING WITH KINECT
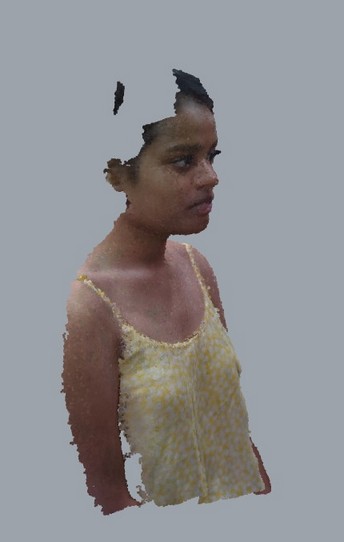
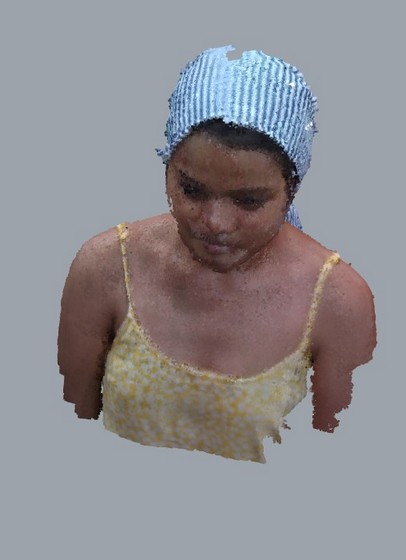
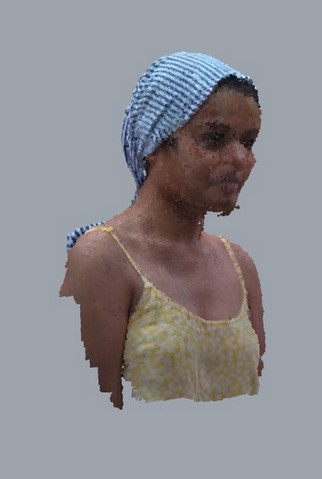
Me and Ximena decided to scan each other for the assignment. We experimented with with different ways of scanning. First, we used a rotating base that a person could stand on. So either the scanner was moving or the base.
THE SCANNER
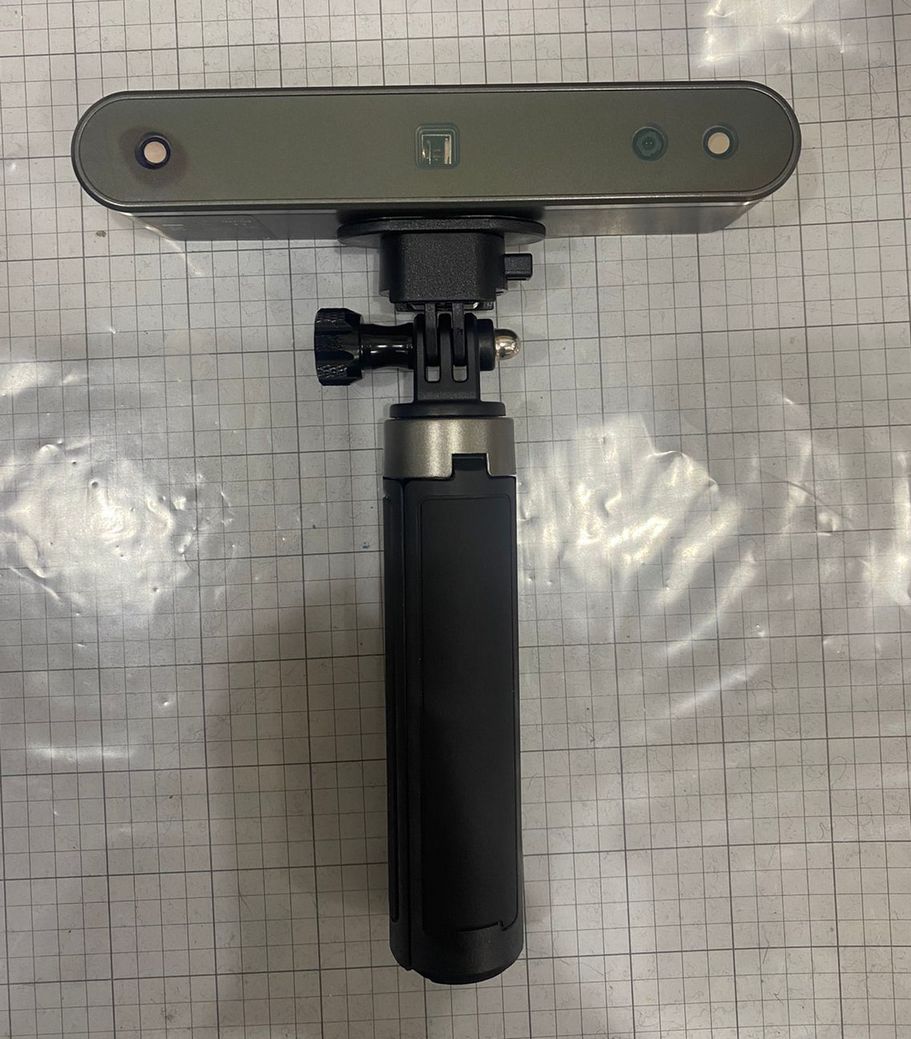
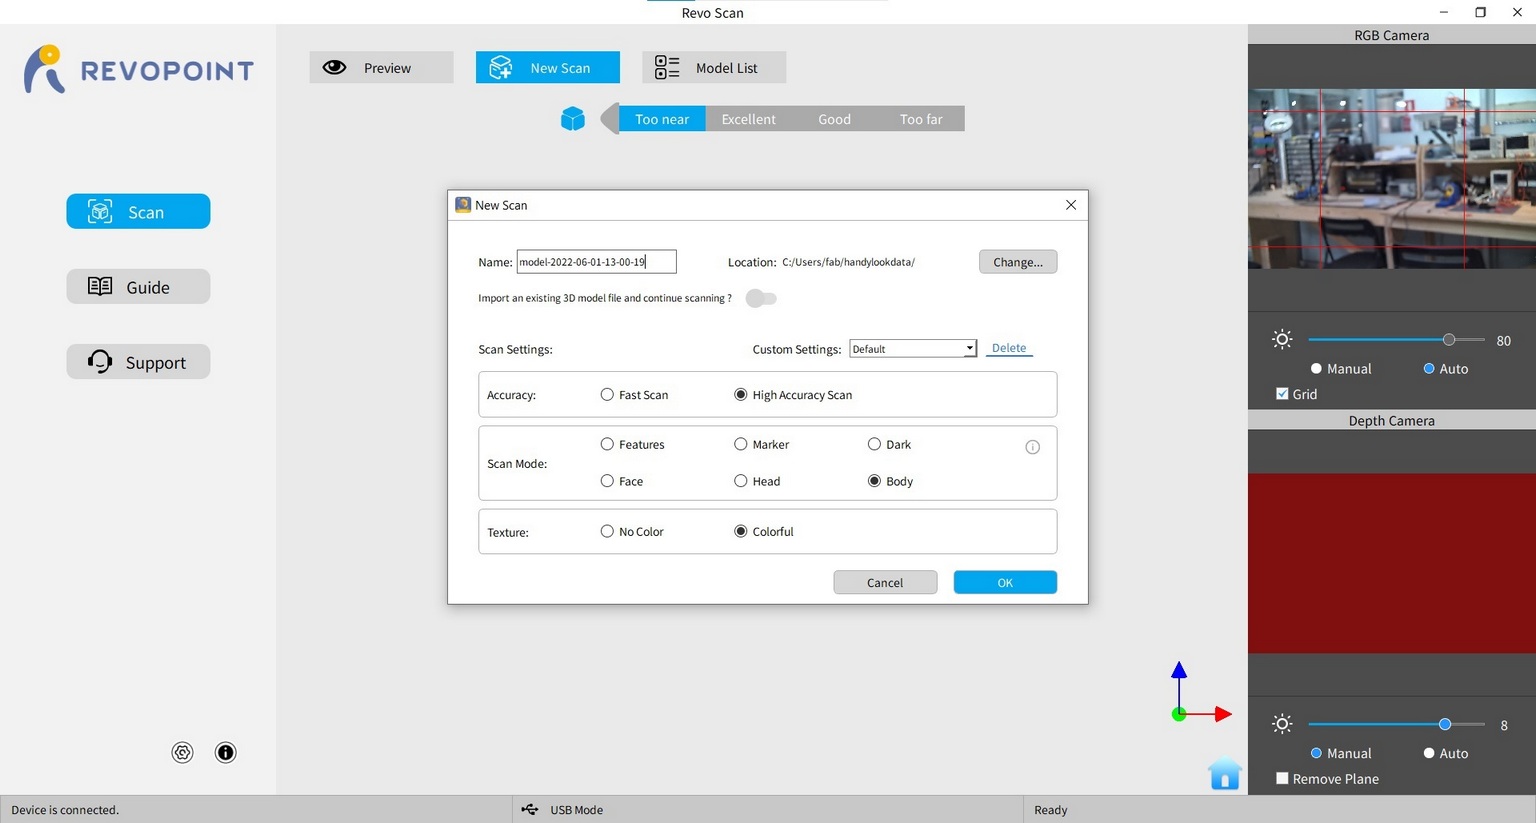
I used a scanner called REVOPOINT
THE PROCESS
-
The softwre used is called REVSCAN. The scan settings I used are:
- ACCURACY: High accuracy scan(the file would be significantly heavier)
- SCAN MODE: Body
- TEXTURE: Colourful
- Pay attention to the screen while scanning as the software tells you if you are too far or too close to the object.
- Move the scanner around the object essentially creating a dome.
- Make sure you take your time and not miss any spots.
- After the scan is done, the software lets you convert the scan to a point cloud.
- You can then export it as a.stl or .obj format and use another software to clean it up a bit.
We did a few test runs with different settings, but it was difficult to capture the top of my head as I have dark hair. Eventually, I ended up wrapping a scarf around my head, which gave me a better result.
Design files download
Vase rhino file
Scan test 1
Scan test 2